BrandBird is a powerful screenshot editor that can help you create high-quality, branded graphics for your product or personal brand in seconds.
Getting started is really easy, and you can get there in four steps. Now let’s see them one by one 👇
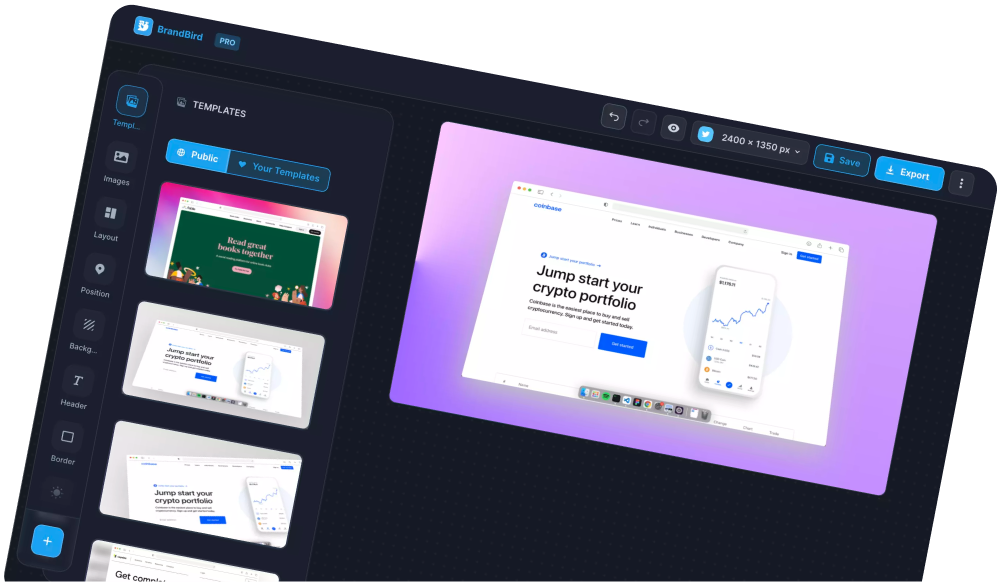
1. Upload an image
The first step is uploading an image! You can upload an image by clicking the Upload button to select an image from your computer, or drag-n-drop one directly into the editor. You can also paste an image from your clipboard, using the CMD+C/V shortcuts, for an even quicker result!
2. Add a background
The second step is to add a background to your graphic! To do so, select Background from the left menu, then choose one of the 5 customisable background options and adjust it to your needs. You can create a background with your brand’s colours, or use our Random feature for a quick win.
After choosing a background, you can also add a grid overlay to it, such as stripes or dots. Simply open the Grid Overlay options and find one that suits your design best.
3. Customise it
After you select a background you can further customise your design to make it even more unique.
If you select 3D from the left menu, you can move your image into a 3D position and add depth to your graphic.
Then, you can select the Annotation option from the left menu and add text, icons or shapes to style it. We offer a variety of text styles and icons to make your graphic unique!
4. Post your graphic
Once you’ve finished, your fourth and final step is to export your graphic and share it on your social media! Simply click the Export button to download it or copy it to your clipboard, and post it on your favourite channels.
You can also use it on your landing page, emails, etc.
And that’s it! With these four simple steps you have officially created your first BrandBird graphic 🥳
The Most Powerful Image Editor
for SaaS Founders
Get Started Now